iPhone Product Photography Tips for Your Small Business

Product photography can appear to be super intimidating, but we have a secret for you… it doesn’t have to be! You can do at-home product photography with just some simple prompts, natural lighting, and your iPhone! Here is Inventora’s best iPhone product photography tips for your small business…
Finding the Right Settings
You’ll want to start by making sure your phone is in the right mode. To help with symmetry, you’ll want to make sure your Grid is on. To turn on the Grid, go into Settings > Camera > Grid > slide on. This helps make sure you have the focus piece centered and aligned with the rest of the image. You can easily turn this on and off in your Settings.
You’ll also want to make sure you aren’t using any filters. The more natural, the better! Make sure you’re not zoomed too close or too far either. With the new iPhones, there are endless options to making your photos unique, however, for product photography, you’ll want as clear and crisp of an image as you can take.
A rookie mistake often done is using the “Portrait” mode instead of the standard “Photo” mode. Don’t get us wrong, portrait mode can take beautiful images! However, sometimes the images are over blurred or over focused, which can make the photo look unprofessional, as if a filter was applied. Sticking with the normal settings is likely where you will capture the best photos.
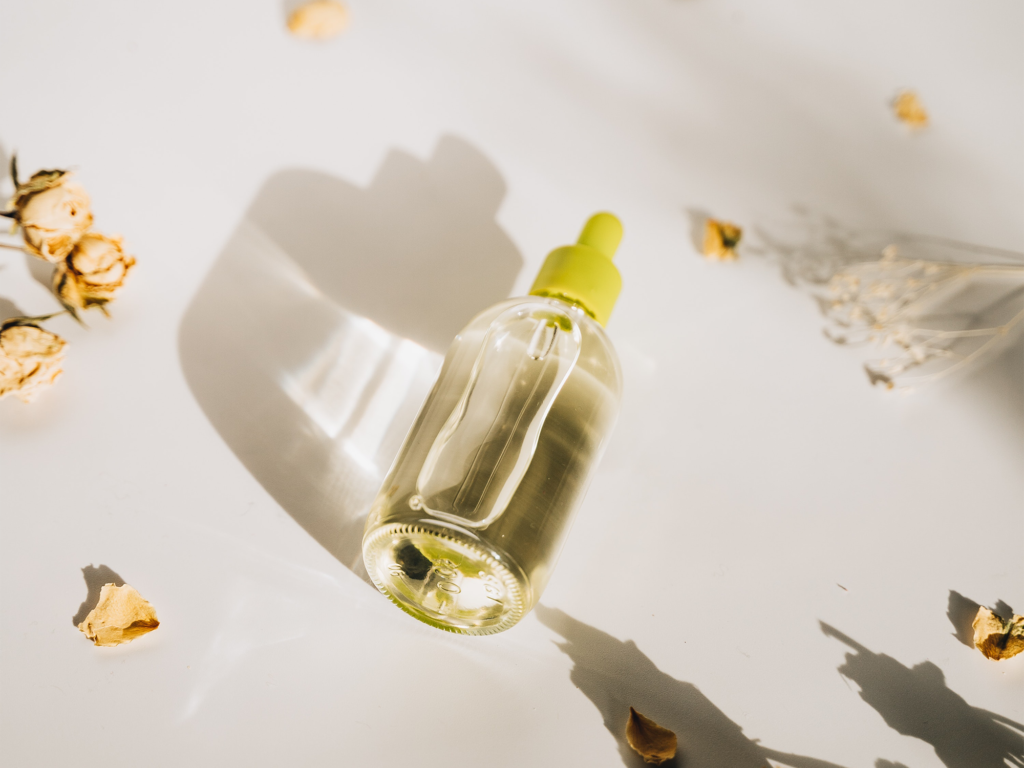
Finding Natural Light
This one can be tricky. You’ll want to find an area where the light is bright, but not directly in the sunlight. A trick we’ve found useful, is finding a window in your home that gets good sunlight, then grabbing a white or soft-colored bedsheet to put over the window (as if it were your window shade or blind). This will help the sunlight not be so intense and allow you to take an image that is unshaded and not overly yellow.
Another tip, avoid taking a photo with flash. It will distort the true colors and texture of your product. For example, imagine if someone were to take a picture up close and personal to your face. With the flash on, you would see every pore, every imperfection in a magnified view. Now, that’s not how you really look, but the flash has intensified every small detail to make your features look over exaggerated. Same goes with at home product photography. Keep it simple.
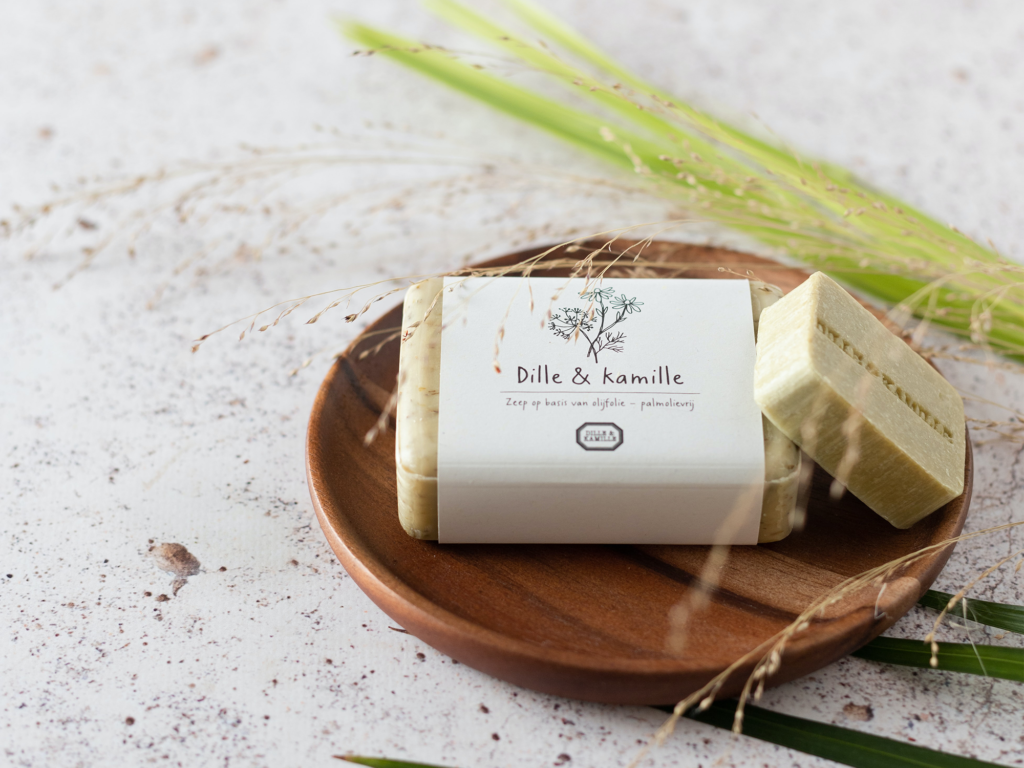
Prep Your Product
Grab your item of choice and take a cleaning rag to it. You will want to make sure there are no smudges or dust on the product. The camera will pick up these fine blemishes that we normally wouldn’t see with the natural eye.
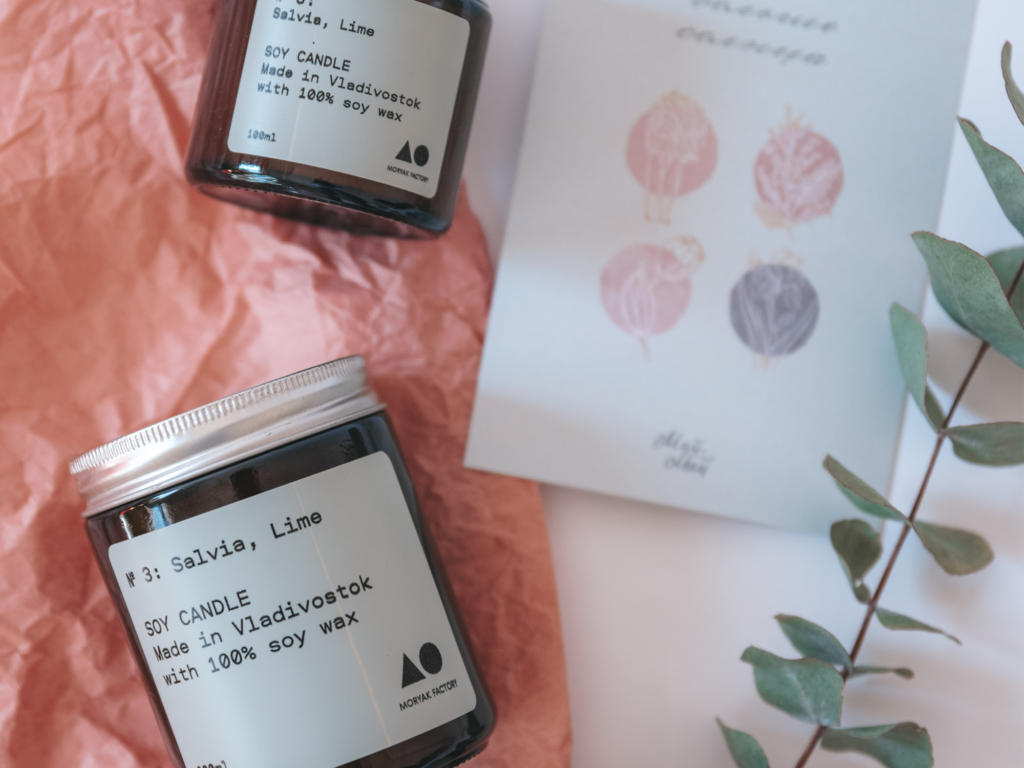
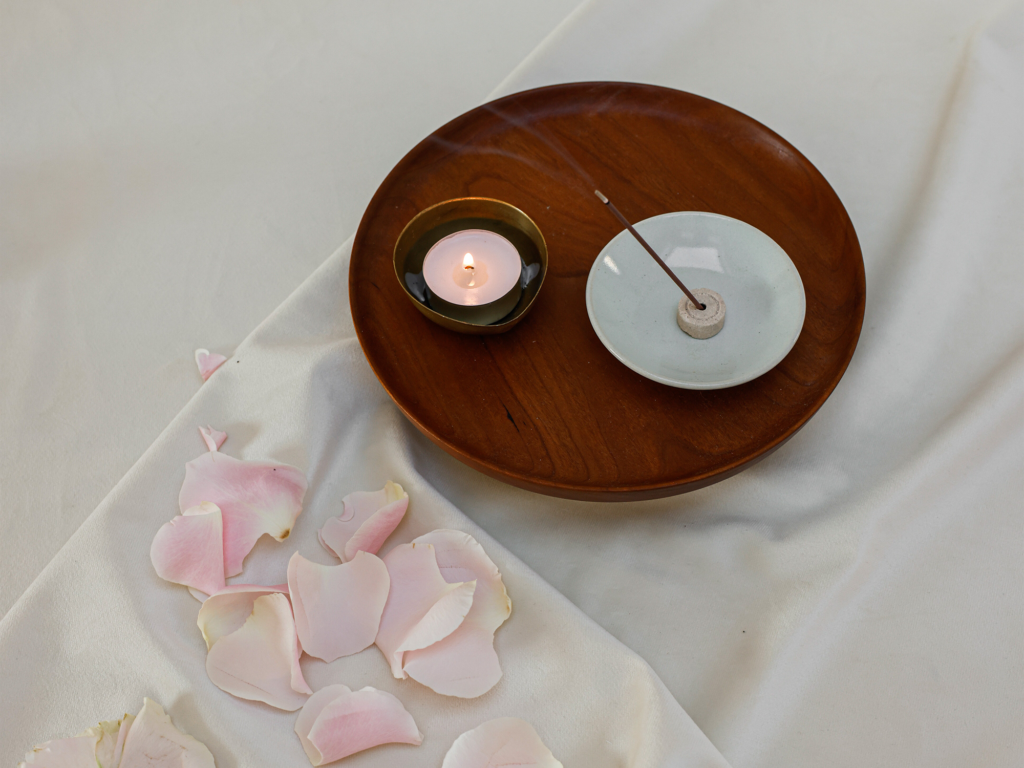
Gather Your Props
Think about how do you want your images to feel? Cozy, outdoorsy, modern? If you’re going for a cozy look, you may grab a clean fuzzy blanket or a small indoor plant. You don’t want your prop to take away from your product, but enhance it.
Another prop to grab is a piece of white foam board or thick white paper. This is more for lighting purposes, and less for aesthetic, but it can be used for both. You’ll want to use this where the light beams hit. It will bounce the light back on to your product – hence why they call it a bounce card.
Use a Backdrop
This is entirely up to your imagination! However, keep in mind this is not the main focus of the photo… your product is. You’ll want to keep this clean and simple. Think “what colors accent my product?” Again, you will want to make sure this backdrop is cleaned of dust, blemishes, and wrinkles. This part of the photo should look effortless, as if it were supposed to already be there.
Know Your Angles
Keep it simple. This doesn’t need to be super artistic. Play around until you find 2-3 different angles you love. You’ll want to remember these angles so your images stay in uniform, as if they were shot from a catalog. We recommend an up-close shot to see details, a frontal shot, and a side shot for each of your products.
Make sure the angles are filling the image. Keep everything centered (like we said before, using the Grid can help with these), and don’t zoom in. Any detailed shots should be taken by moving your iPhone camera closer to the product.
Edit Your Image
Yay, you did it! You’ve taken the perfect iPhone photo… but now it’s time to edit. Editing should only enhance your product even more so, not distort it from its true texture and colors. It’s okay to brighten and highlight your products features, but you should not be altering the image so much that it doesn’t look as it does in person.
We recommend using Lightroom for editing. There is a free version in the App Store. Make sure whatever you edit goes the same across the board. For example, you don’t want to turn up the saturation or warm tones on one image, and then enhance the cool tones on the next image. Find your style then stick with it. The great thing about Lightroom is that once you edit one photo, you can copy those exact edits onto more photos.
Make sure the brightness is all the way up on your phone or laptop when you edit, that way you can see the true coloring of the photos.
Have more questions about iPhone product photography tips for your small business? Learn more here!